How to Make Your Own Crystal Growing Kit
Easily grow crystals with common household ingredients
Crystals are fun and easy to grow, and they're a great introduction to the sciences. Anyone can grow beautiful crystals; you need a little bit of time and a couple of ingredients. I wrote this post because my son's teacher wanted to add crystal-growing experiments to her class. Many examples are online, but I wanted to add my personal touch.
There are only a few steps involved in crystal growing, and the procedures are nearly identical for all the different types of crystals described below. All the crystallization experiments described here form crystals from the precipitation by evaporation. This is not the only way to grow crystals, but it is one of the simplest types.
To make all the types of crystals listed in the main sections, use the sugar instructions and apply them to the other materials.
I'm targeting K-8 teachers for this post. Comment if you want to see other crystal systems or more details on experimentation. I have personally done all these experiments, so they work. Also, all the sizes of containers, measurements of ingredients, and lengths of time are approximate. You are guaranteed crystals if you follow the basic instructions, but the crystallization quality and time frame will vary. It just takes a little practice to get good.
Materials List
hardware: pot (~2qt), stirring spoon, measuring cups, measuring spoons, jars (12oz)
Optional: sticker thermometer (where to buy), tweezers, thread, superglue, food coloring, pencil/stick (for suspending a thread in a jar).
Chemical: water (tap water is fine), reagents (sugar, salt, alum, etc., as described in the sections below)
Please follow all warning labels on the ingredients you buy. If in doubt, don't eat it.
How does crystallization happen?
Briefly, the crystals that you will be growing are organized arrays of atoms. Let's start with sugar as an example. When the water that separates all the atoms evaporates away, it leaves behind a higher concentration of sugar molecules. This creates more interaction between all the sugar molecules, increasing the system's energy. As the water evaporates, there becomes a point where there is no more free water to keep the sugar dissolved. At that point, the sugar undergoes a phase state change from freely moving molecules dissolved in liquid to a solid crystal. This crystallization process releases energy in the form of heat, and once again, the system's energy decreases. So, crystallization represents a minimum energy state for the substance, which is why crystals are so stable. Once one crystal begins to form in the solution, other molecules begin to self-assemble on the crystal, and the crystal grows larger and larger.
Crystals are ordered patterns of atoms, where this pattern can repeat itself infinitely in all directions. The arrangement of the patterns is dictated by the atomic assemblage's bonding geometry and electronic structure. This pattern of atoms in crystals always has symmetry, and this symmetry is shown in the form of the crystal. So, suppose the pattern of atoms in a crystal forms a cubic array. In that case, the form of the crystal that you hold in your hand will be a cube or a derivative of the cube form (like a cube, octahedron, or tetrahedron).
Sucrose
These are ‘rock candy’ crystals are a great starting point because eating them is the obvious reward.
Make a starting solution. Dissolve as much of the reagent (sugar in this case) into water as possible. You will need to get the solution completely saturated with sugar. To do this, keep pouring sugar into a constantly stirring pot (gentle hand stirring is fine) near-boiling water. When the sugar doesn't seem to dissolve anymore and sits at the bottom of the pot, you have reached saturation and can stop adding sugar. You'll notice that this isn't an instantaneous transition, but you will slowly approach it. We will call this solution the 'saturated solution.'
Pour (gently)the saturated solution into a jar (or multiple jars, for larger classes) to avoid getting any undissolved sugar into the jar. The undissolved sugar will act as a seed, and crystallization will start at that point. If you have a lot of undissolved sugar particles in the jar, you will likely get a lot of small crystals.
Cover the jar with plastic, but allow some air ventilation. 1/8 of the opening diameter should be open, but this can vary considerably. Let the jar sit undisturbed for as long as you can stand. Crystallization should happen within a few days but could take several weeks.
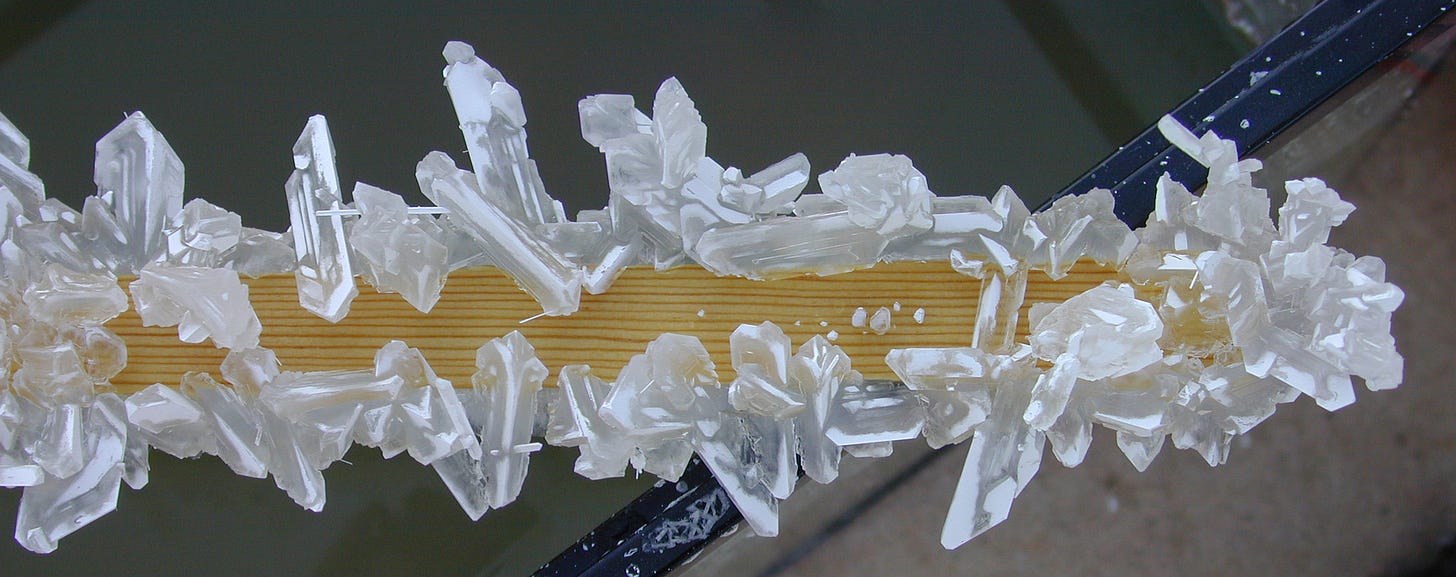
Variation 1: Tie a thread to a pencil, lay the pencil across the top of the jar, and let the thread hang into the center of the jar, away from the sides, where the thread goes down approximately 2/3 into the liquid. This thread will act as a nucleation point, and crystals will form on the thread. Then, the crystals can easily be removed from the jar. Adding a small seed crystal to the end of the thread (using a tiny amount of super glue) will enhance crystallization at the point of the seed. Seeds are a good way of trying to grow huge crystals. You can use any sugar crystal as a seed.
Variation 2: Add some food coloring. The food coloring will change the color of the crystal as it is incorporated into the crystal.
Remove the crystals from the fluid. Use a spoon, fork, stick, fingers, etc., but be careful not to break the crystals. Sometimes, the crystals can be difficult to remove as they can stick to the sides of the jar.
You can now call the experiment over, or you can take one of the large single crystals (found anywhere in the jar) and use it as the seed for the next batch. By repeating this process, you can get big crystals and even change the color by adding a different-colored food dye (which will create a zoned color change effect).
A great way to add more science is to keep records of the crystallization process. How much detail you want to record is totally up to you and the class. You can also not record any data and watch the crystals grow over several days, butrecording data gives you something to do while this happens.
Weigh the saturated solution at the experiment's start and subtract the jar's weight. Weigh the mother liquor (the solution left over and separated from the crystals) at the end of the experiment, too.
Weigh the amount of reagent (sugar in this case) you add to the water to create the saturated solution.
Mark the outside of the jar for the starting fluid level. Over the course of days, keep measuring and marking the new fluid levels as the water evaporates. Keep recording fluid levels and crystal sizes.
Record the start day of crystallization and where the crystals are forming in the jar.
If using food coloring, record any fluid color change as the crystals grow.
Record the fluid's temperature daily, and the air's temperature daily. Fluctuations in temperature could change crystallization rates and possibly the crystal size and shape. Crystallization is an exothermic reaction (releases heat). Record the humidity of the air. Humidity will influence evaporation rates.
Store records in a notebook. Depending on the details of your measurements, you can plot the data on a graph and quantify the changes over time (water level vs. days, temp vs. days, temp. vs. water level, etc.).
Growing a crystal geode
Here, you need to make a hollow chocolate ball. Once the ball has thick walls, you pour the sugar-saturated solution (as described above) into it. (Use the link in the box below.)
https://hubpages.com/food/Candy-Geode-Recipe
Borax
Follow the steps for sugar, but instead, use borax, readily purchased in the laundry section of the grocery store. Here are some other ideas.
Solubility Science: How to Grow the Best Crystals
How To Grow Crystals With Borax Fast for Best Kids Science Activities

Halite
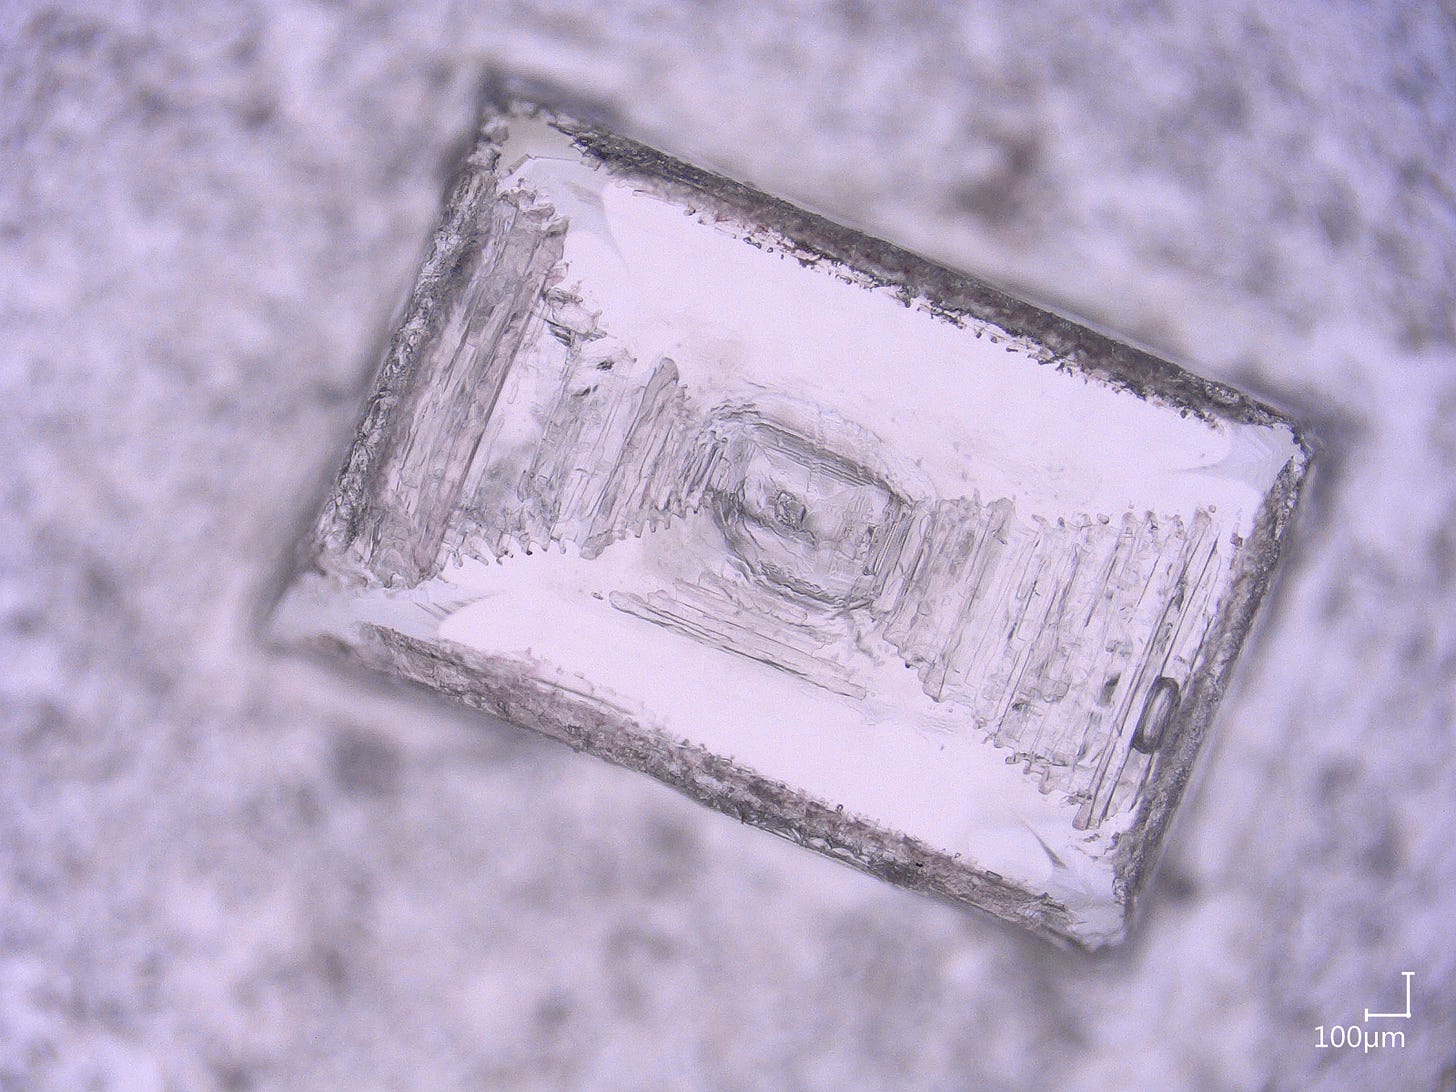
Size doesn't matter if you have a microscope handy. This is regular table salt and edible only when added to regular food. Halite is cheap and easy and will form cubic crystals. Sometimes, you can get 'hopper' crystals with unique crystal growth features. I sometimes add a little sodium sulfate (about 1/8 of the salt added) to the solution, which promotes hopper crystal formation. Sodium sulfate is commonly used as a mordant for fabric dying and can be obtained from online shops.
Epsomite
These are Epsom salts that you can get by the pound at a grocery or drug store. They form beautiful crystals, but they will dehydrate in a few days. Epsom, or epsomite, is a magnesium sulfate heptahydrate (having 7 water molecules per formula unit) and will transform to 5 hydrate when left in the dry air. It's still crystalline after this slightly dehydrated form but will have undergone a transformation and may look white. The white color is caused by the light interface with all the cracks and faults throughout the dehydrated crystal. As the crystal dehydrates, it shrinks a little, adding strain to the crystal. The stress is relieved by cracking and breaking.

Chalcanthite
Synthetic chalcanthite crystals are made out of copper sulfate; I know this isn’t a common household ingredient for most.
Copper sulfate can be found at any gardening store. These crystals can grow very large with near-perfect crystal forms and are a beautiful electric blue.
Chalcanthite is the natural form of the copper sulfate pentahydrate crystal.
In 2008, artist Roger Hiorns took crystal growing to a new level. In his work Seizure, an old apartment was filled with liquid copper sulfate and left to crystallize for months. The result is an amazing mass of synthetic chalcanthite crystals that cover everything.
Alum
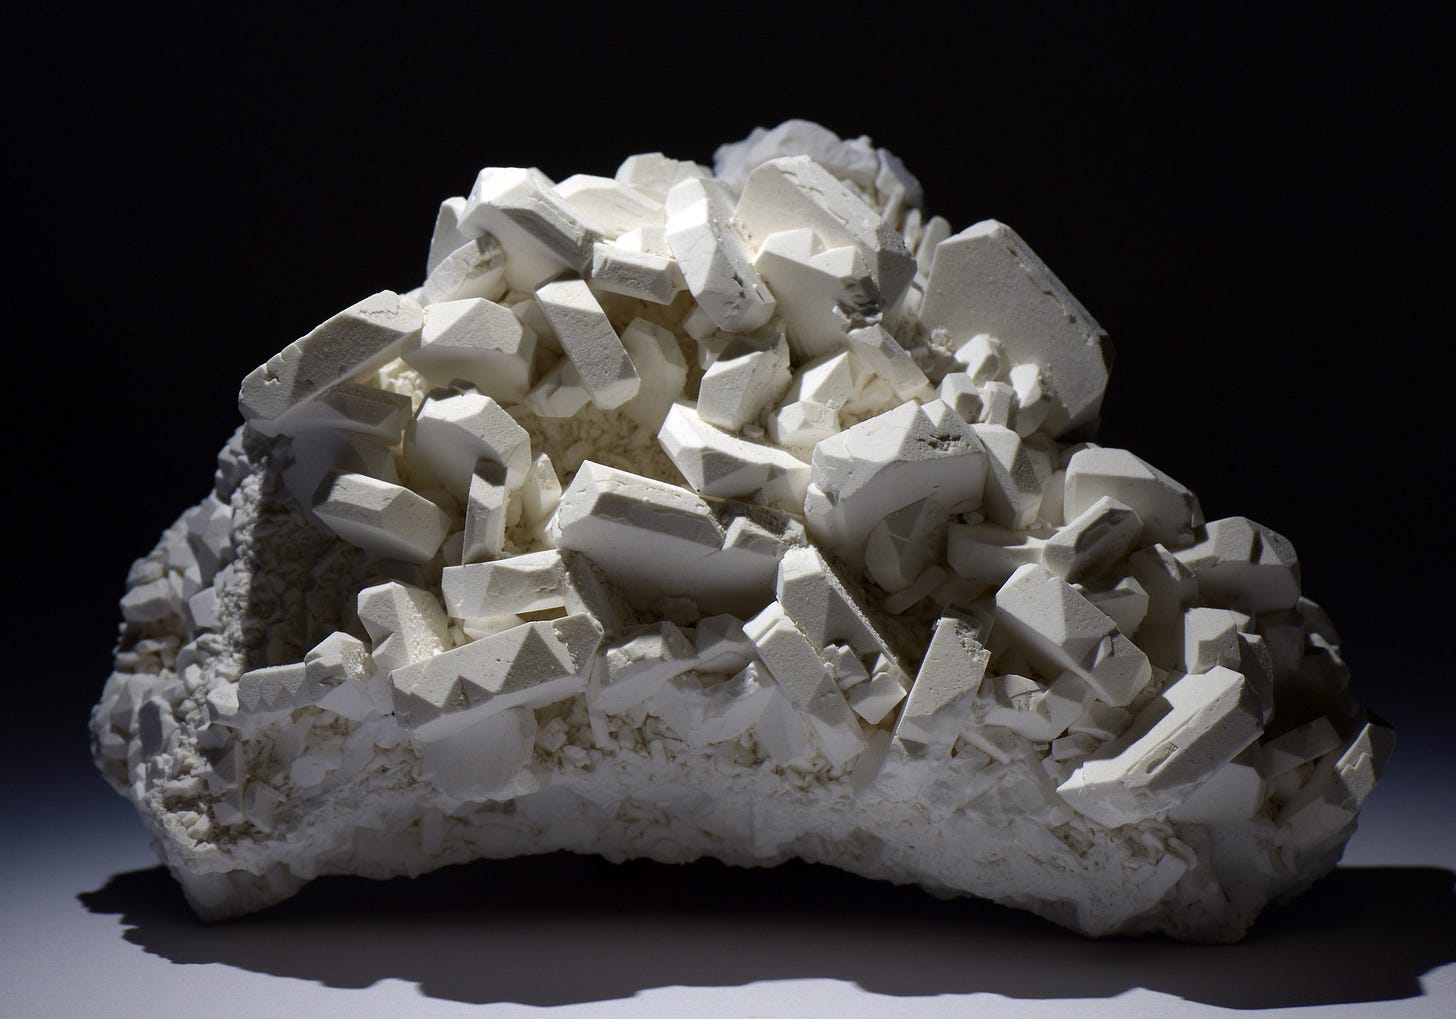
This is pickling salt, which you can buy at the grocery store. Alum forms very nice square bipyramid (i.e., octohedron) crystals. Just follow the sugar instructions, and you can get some really big crystals some some practice.
Alum is hydrated potassium aluminum sulfate and is not edible.
More Crystallization Ideas
Mirabilite
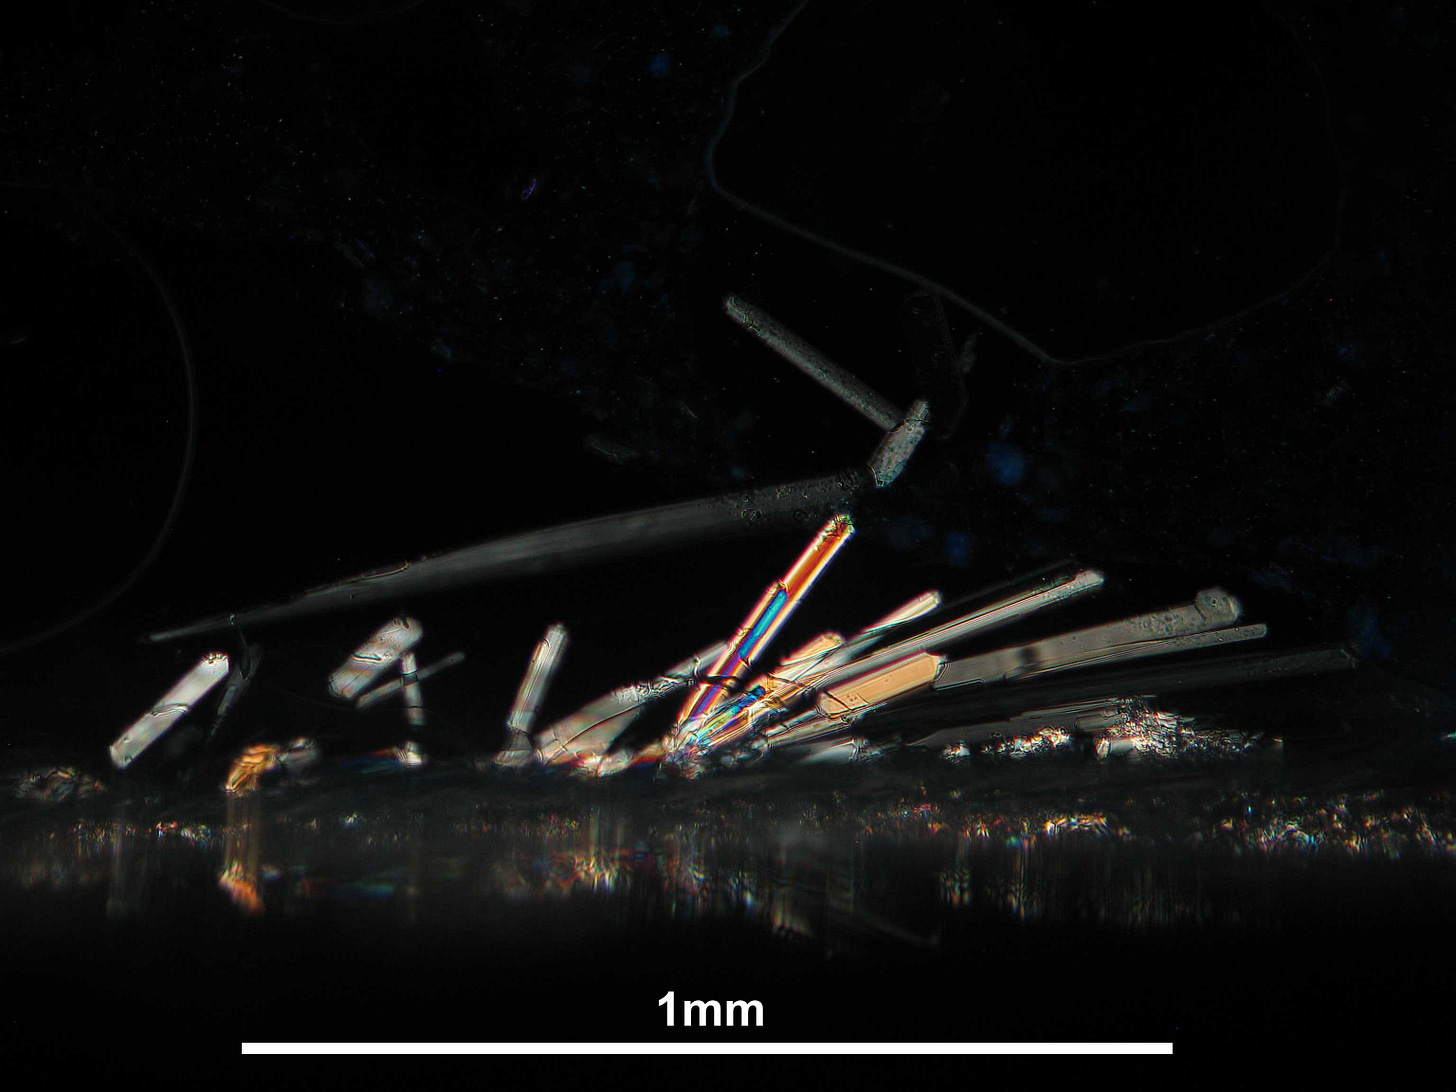
A little more of a challenge. Large crystals can be grown but only grow big at around 40 degrees Fahrenheit. Crystals are very temperature-sensitive but can be grown very rapidly.
A good way to start is with hanksite crystals. These can be purchased online, or you can collect them yourself at Searles Lake in California during Gem-O-Rama.
Dissolve the hanksite crystals in water. In this case, you are not making a saturated solution; you just need to dissolve the crystals completely. Making a saturated solution will not be good because you'll grow too many crystals, and there won't be any room to grow big crystals.
Cool down the solution. This can be done in a refrigerator or outside in the cold. The crystals will begin to grow when they start getting cold. The slower it cools, the better the crystal shape will be. You'll see blade-like crystals forming, and these are the mirabilite crystals. Note that you will not re-form the hanksite using this method.

CALCITE CRYSTALS
This is more of a challenge as you'll need multiple ingredients, but it can be used to discuss climate change and how it can affect marine life.
Three ingredients are needed: CaCl2 (calcium chloride), Na2CO3 (sodium carbonate), and an acid (vinegar can work).
Dissolve a good amount of calcium chloride in a bottle (something like 1 Tbsp. per cup of water), and a good amount of sodium carbonate in another bottle.
In a third bottle (or cup), add the sodium carbonate, then mix in the calcium chloride, and you instantly form CaCO3 (calcite) and NaCl (halite, which stays dissolved until the water evaporates). These crystals will be tiny, and you won't be able to see them with the naked eye. What you will see is a cloudy precipitate forming in the solution. These are the calcite crystals.
Calcite formation in this water is analogous to calcite shells by animals in the ocean.
If the oceans become acidic, then the calcite dissolves. To simulate this process, add the acid (vinegar). Mix a little acid into the bottle with calcite, and then stir. Now watch the calcite dissolve. You also might see CO2 (carbon dioxide) bubbles form and escape the water. This is analogous to the process of ocean acidification.


